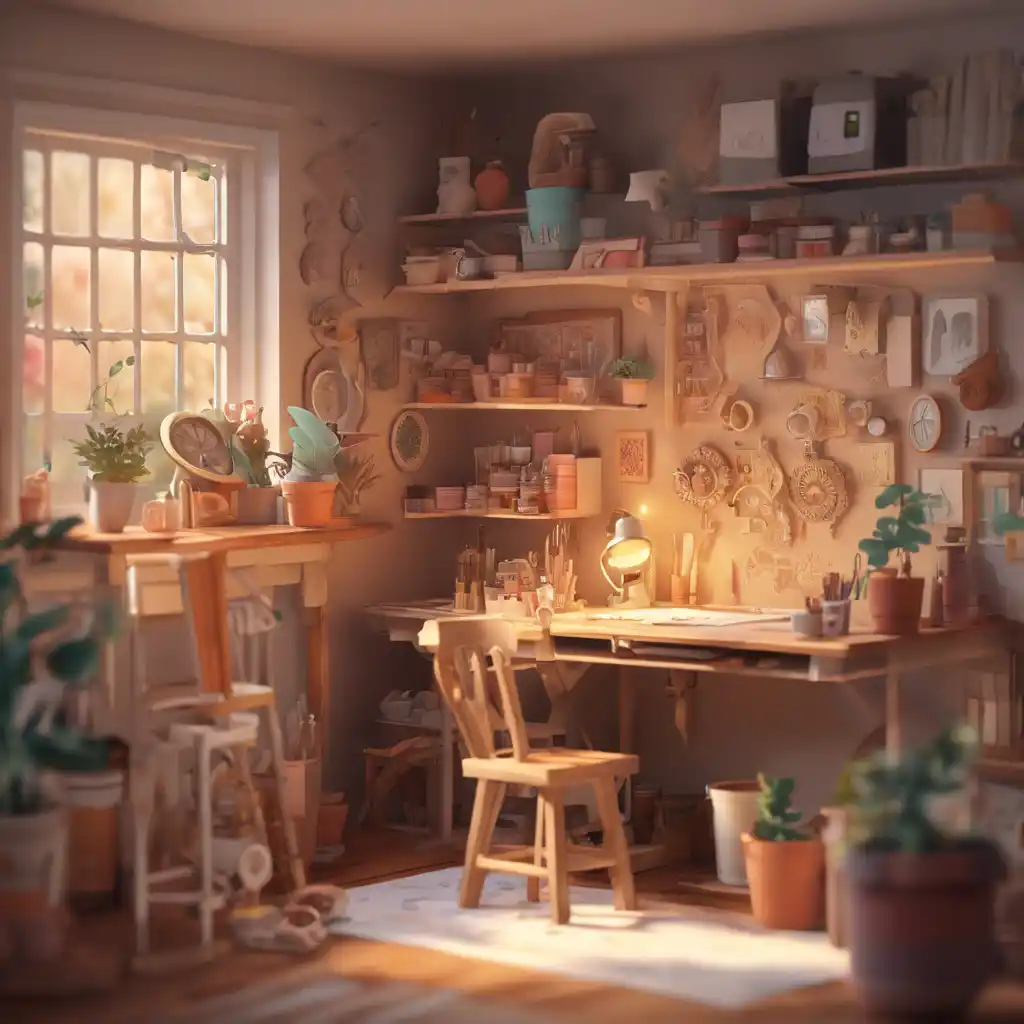
Creating dollhouse furniture with a Cricut machine is a rewarding way to express your creativity while crafting something truly special. Whether you’re building a miniature world for your collection, designing a custom piece for a loved one, or simply enjoying a relaxing hobby, this process combines precision and artistry to bring your ideas to life.
Here’s how to craft your own dollhouse furniture with a Cricut machine, step by step.
Step 1: Gather Your Tools and Materials
Preparation is key to a smooth crafting experience. Here’s what you’ll need:
- Cricut machine (Explore, Maker, or any compatible model)
- Cricut Design Space software
- Cardstock, thin wood sheets, or chipboard (choose based on the material you want for your furniture)
- Cutting mat (LightGrip or StrongGrip, depending on the material)
- Fine-point blade or deep-cut blade (based on material thickness)
- Glue (craft glue for paper or wood glue for sturdier materials)
- Tweezers (for handling small, delicate pieces)
- Paints, markers, or decorative paper (for customization)
- Sandpaper (optional, for smoothing edges on thicker materials)
Step 2: Choose or Create Your Furniture Design
Cricut Design Space offers endless possibilities for creating intricate furniture pieces. You can either:
- Find premade SVG files: Many creators share dollhouse furniture designs online. Look for SVG files compatible with Cricut, or browse the Cricut Design Space library for ready-to-cut templates.
- Design your own: Use Design Space tools to create custom furniture layouts. Start with basic shapes like rectangles and circles, then layer and combine them to build more complex designs.
Tip: Ensure your designs are scaled to fit your dollhouse. Most dollhouses use a 1:12 scale, but always double-check the dimensions to ensure accuracy.
Step 3: Prepare Your Materials for Cutting
Once your design is ready, it’s time to prep your materials:
- Upload and adjust the design in Cricut Design Space, resizing it to match your dollhouse scale.
- Select the correct material setting in the software. For cardstock, choose “Cardstock” from the materials list. For chipboard or thin wood, select the corresponding option and ensure the appropriate blade is installed.
- Place your material on the cutting mat, aligning it carefully to minimize waste. Press it onto the mat lightly but securely to keep it in place during cutting.
Step 4: Cut Your Furniture Pieces
Now for the exciting part—cutting your pieces!
- Load your mat into the Cricut machine and press the “Go” button. The machine will precisely cut each piece of your furniture.
- Once the cutting is complete, carefully remove the material from the mat. Use tweezers to handle delicate pieces to avoid bending or tearing them.
Tip: For thicker materials like chipboard or wood, multiple passes may be needed for clean cuts. Cricut will prompt you if additional passes are required.
Step 5: Assemble Your Furniture
With your pieces ready, it’s time to assemble your miniature furniture:
- Lay out all the pieces and follow the assembly instructions. If you’ve downloaded an SVG file, it often includes a guide to help you.
- Use glue to attach the pieces. For sturdier materials like wood, apply a small amount of wood glue to the edges and hold the pieces in place until they set. For cardstock or chipboard, craft glue works well.
- Allow the glue to dry completely before moving on to the next step.
Tip: Use a fine-tip glue applicator for precision and avoid excess glue spilling over edges.
Step 6: Add Finishing Touches
This is where you can let your creativity shine! Personalize your furniture to reflect your dollhouse’s aesthetic:
- Paint and decorate: Use acrylic paints or markers to add color and details. Experiment with patterns, textures, or faux finishes to mimic real furniture.
- Add fabric or paper accents: Use fabric scraps to upholster chairs or couches. Decorative paper can make excellent wallpaper for miniature wardrobes or drawers.
- Sand and smooth edges: For wood or chipboard pieces, lightly sand the edges for a polished finish.
Tip: Seal painted pieces with a clear varnish to protect them from wear and tear.
Step 7: Display and Enjoy
Once your furniture is complete, place it in your dollhouse and admire the transformation. Each piece tells a story, whether it’s a cozy rocking chair in a nursery or a vintage table in a charming kitchen.
You can also share your creations with fellow enthusiasts or gift them to friends and family. Handmade dollhouse furniture makes for thoughtful, one-of-a-kind presents that spark joy and imagination.
Final Thoughts
Crafting dollhouse furniture with a Cricut machine is more than just a hobby—it’s a way to create something meaningful and personal. Each piece you design and assemble is a reflection of your creativity and attention to detail.
So, gather your tools, let your imagination take the lead, and watch as your miniature world comes to life, one tiny chair or table at a time.


