Creating a dream dollhouse is about more than just filling it with furniture; it’s about crafting a cohesive, stylish space where every room feels connected. Whether you’re a seasoned dollhouse enthusiast or just starting out, understanding how to match themes and styles can transform your miniature home into a masterpiece. Let’s explore practical tips to help you design cohesive miniature spaces that reflect your creativity and style.
Why Cohesion Matters in Dollhouse Design
Cohesion is the key to making a dollhouse feel intentional and polished. When each room complements the others, it creates a sense of unity that enhances the overall aesthetic. Without this harmony, even the most beautiful pieces can feel disconnected or out of place.
By focusing on matching themes, colors, and styles, you can ensure your dollhouse tells a consistent story, making it a joy to look at and interact with.
Step 1: Choose a Central Theme
Start by deciding on a central theme for your dollhouse. This could be a specific era, such as Victorian or mid-century modern, or a broader concept like rustic charm or whimsical fantasy.
Examples of Themes:
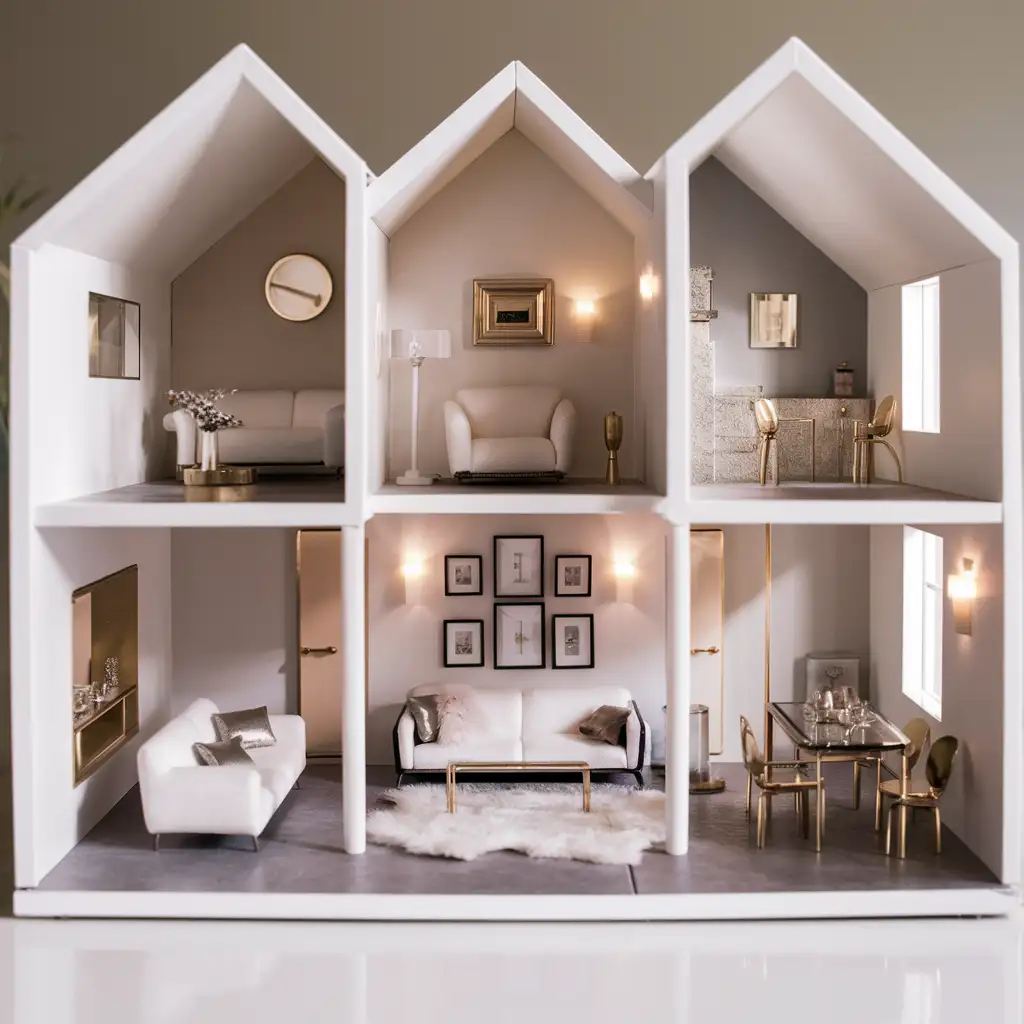
- Modern Minimalism: Clean lines, neutral colors, and sleek furniture.
- Vintage Elegance: Ornate details, floral patterns, and antique-inspired pieces.
- Rustic Farmhouse: Weathered wood, cozy textiles, and earthy tones.
- Whimsical Fantasy: Bright colors, playful patterns, and storybook-inspired furniture.
Once you’ve chosen a theme, let it guide your choices for furniture, accessories, and even wall colors or wallpapers.
Step 2: Stick to a Color Palette
A unified color palette is essential for creating cohesion. Choose 2-3 main colors and 1-2 accent colors to use throughout your dollhouse. This will visually tie the rooms together, even if they have different purposes or layouts.
Tips for Choosing Colors:
- Use neutral tones (white, beige, gray) as a base, then add pops of color for interest.
- Consider the mood you want to create. Soft pastels evoke a calming feel, while bold jewel tones add drama.
- Match your color palette to your chosen theme. For instance, a farmhouse style might feature muted greens and browns, while a modern theme could lean on monochromatic shades with metallic accents.
Step 3: Balance Scale and Proportion
In miniature spaces, scale and proportion are everything. Mismatched furniture sizes or oversized accessories can disrupt the harmony of a room. Ensure that all pieces are to the same scale and fit comfortably within the space.
Pro Tip:
Group smaller items together to create visual balance. For example, a tiny gallery wall of framed artwork can act as a focal point without overwhelming the room.
Step 4: Mix Textures for Depth
Textures add depth and interest to your dollhouse design. Combine smooth surfaces (like polished wood or acrylic) with softer elements (like rugs or cushions) to create a dynamic and inviting space.
Texture Ideas:
- A faux fur rug paired with a sleek modern sofa.
- Weathered wood furniture accented with lace curtains.
- Metallic accessories like tiny lamps or picture frames to add a touch of shine.
Step 5: Add Personal Touches
What makes a dollhouse truly special are the personal touches that reflect your style and creativity. Handmade accessories, custom-painted furniture, or unique decor items can make your miniature space one-of-a-kind.
Ideas for Personalization:
- Create tiny photo frames with pictures of your loved ones.
- Paint furniture in your favorite colors or patterns.
- Add miniature books, plants, or artwork that resonate with your interests.
Step 6: Use Lighting Strategically
Lighting can make or break the ambiance of a room. Use miniature LED lights, chandeliers, or fairy lights to highlight key features and create a warm, inviting atmosphere.
Lighting Tips:
- Place a pendant light above a dining table or kitchen island for a cozy feel.
- Use wall sconces or table lamps to add layers of light.
- Consider battery-operated lights for easy installation and flexibility.
Step 7: Keep It Simple
When designing miniature spaces, less is often more. Avoid overcrowding rooms with too many accessories or furniture pieces. Instead, focus on a few standout items that align with your theme and color palette.
Example:
If you’re decorating a dollhouse living room, a tufted sofa, a coffee table, and a small bookshelf might be all you need. Add a rug and a few decorative pillows to complete the look without overwhelming the space.
Final Refinements
As you step back and take in your dollhouse creation, take a moment to engage with your design as though you were a visitor to this tiny world. Wander through each room with your eyes, asking yourself—does this space tell the story I want it to tell?
Sometimes it’s the smallest changes that can make the biggest difference. Maybe swapping out a rug for a softer texture brings warmth to the living room, or adding a tiny book on a nightstand gives personality to a bedroom. Trust your instincts, and don’t hesitate to experiment with small tweaks until every corner feels complete.
Remember, a dollhouse isn’t about perfection. It’s about the charm, the quirks, and those little details that make it feel alive. Refine as much—or as little—as you like. After all, it’s your miniature world.
A Thought to Leave With You
Building a dollhouse is more than just assembling furniture or picking colors. It’s about creating a world that sparks joy—both for you as the creator and for anyone lucky enough to marvel at your work. In the process, you’ll likely discover that designing these tiny spaces isn’t just a creative outlet; it’s a reflection of your passions and personality.
So, as you place that final piece of decor or adjust the angle of a tiny chair, take a moment to appreciate the journey you’ve taken. The beauty of dollhouse design isn’t in rushing to the finish line but in relishing the process. Every decision, every detail, and every experiment comes together to create something truly unique.
Now, step back, take it all in, and let your miniature masterpiece speak for itself. And perhaps, just perhaps, it will inspire the next chapter of your creative journey.