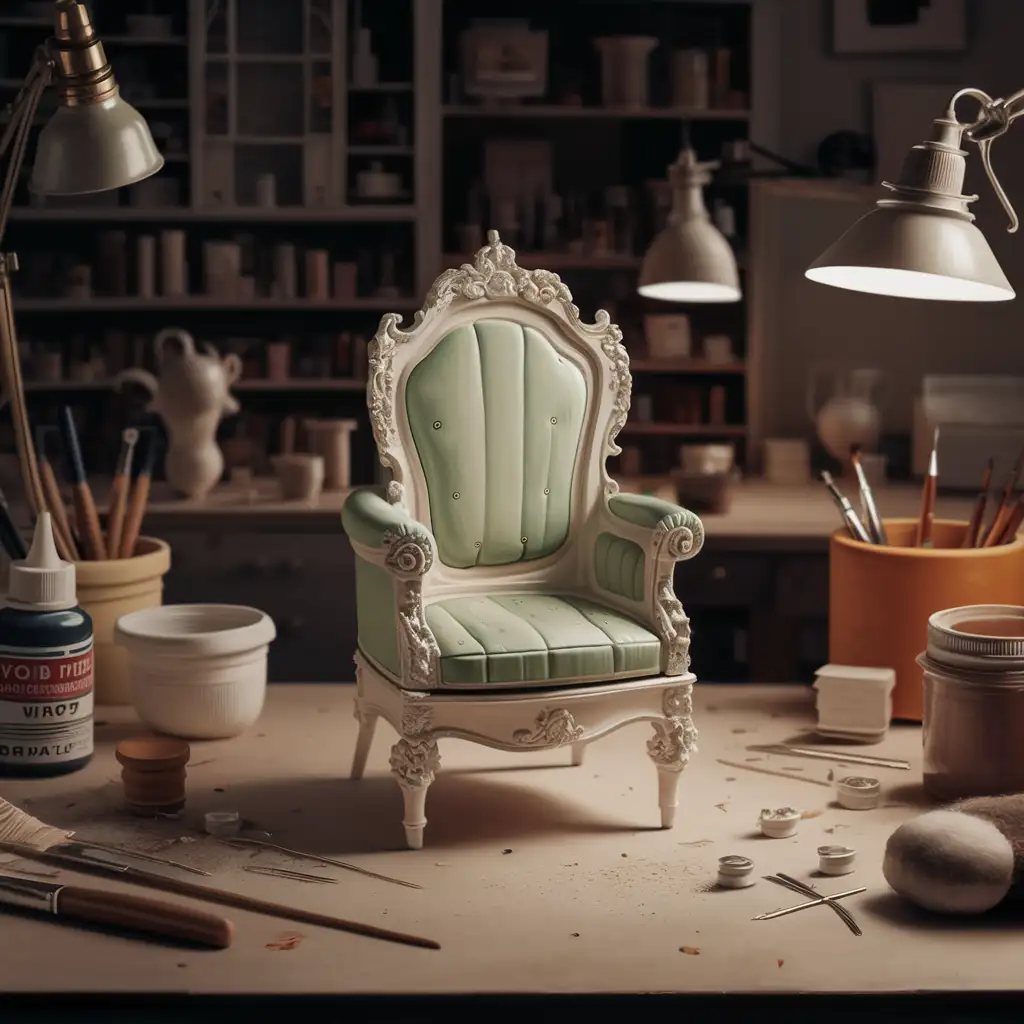
Dollhouse furniture is more than just miniature decor—it’s a reflection of craftsmanship and creativity, cherished by collectors and DIY enthusiasts alike. Unfortunately, wear and tear over time can lead to issues like broken legs, chipped paint, or missing parts. The good news? With the right tools, techniques, and a little patience, you can restore your dollhouse furniture to its original charm—or even give it a refreshed, personalized look.
This step-by-step guide will show you how to repair dollhouse furniture effectively, helping you preserve its beauty and functionality for years to come.
1. Inspect and Identify the Damage
Before starting repairs, carefully examine your dollhouse furniture to determine the extent of the damage. Common issues you may encounter include:
- Structural Damage: Broken legs, loose joints, or weakened areas.
- Surface Damage: Scratches, dents, or chipped finishes.
- Missing Components: Handles, knobs, or decorative trims.
Take notes or photos of the piece, especially if you’re restoring it to match a specific historical style or original design.
2. Gather Essential Tools and Supplies
Restoring dollhouse furniture requires the right tools and materials. Here’s a checklist to ensure you’re prepared:
- Adhesives: Use wood glue or superglue for structural repairs.
- Sandpaper: Fine-grit sandpaper (220 or higher) for smoothing surfaces.
- Paints: Acrylic paints for touch-ups or refinishing.
- Brushes: Small, fine-tipped brushes for detailed work.
- Wood Putty: Ideal for filling cracks or gaps.
- Mini Clamps: Or rubber bands to hold glued parts in place.
- Replacement Parts: Miniature knobs, hinges, or trims (available online or in craft stores).
- Sealant: Clear, matte, or glossy sealant to protect the final finish.
3. Repair Structural Damage
Structural integrity is essential for dollhouse furniture. Here’s how to address common structural issues:
Fixing Broken Legs or Arms
- Apply a small amount of wood glue to the broken edges.
- Carefully align the pieces and press them together.
- Use clamps or rubber bands to hold the parts securely while the glue dries.
Reinforcing Loose Joints
- Remove old glue residue with sandpaper or a craft knife.
- Apply fresh glue to the joint and reassemble the piece.
- Secure the joint with clamps or tape while it sets.
Strengthening Weak Areas
For delicate or fragile sections, drill small holes into both sides of the joint and insert a dowel or toothpick with glue for added support.
4. Restore Surface Damage
Surface imperfections can detract from the overall appearance of your dollhouse furniture. Here’s how to fix them:
Repairing Scratches and Dents
- Lightly sand the area with fine-grit sandpaper to smooth out scratches or dents.
- For deeper imperfections, apply wood putty, let it dry, and sand it smooth.
Touching Up Chipped Paint
- Match the paint color as closely as possible.
- Apply thin layers of paint with a fine brush, allowing each layer to dry before adding the next.
- Finish with a protective sealant to enhance durability and shine.
5. Replace Missing Parts
Missing components like knobs, hinges, or trims can often be replaced or recreated:
- Knobs and Handles: Use beads, buttons, or jewelry findings to replicate missing knobs.
- Hinges: Purchase miniature hinges from craft stores or online retailers.
- Decorative Trims: Craft your own trims using polymer clay, wood scraps, or even 3D printing.
Secure these replacements with superglue, ensuring they are firmly attached and aligned with the original design.
6. Refinish and Add Personal Touches
Once structural and surface repairs are complete, it’s time to refinish and personalize your dollhouse furniture:
- Sand the entire piece lightly to prepare for painting or staining.
- Apply paint or stain in thin, even coats, allowing each coat to dry thoroughly.
- Add decorative details like stenciling or hand-painted patterns for a unique touch.
- Seal the finished furniture with a clear coat to protect it from future wear and tear.
7. Prevent Future Damage
To keep your dollhouse furniture in pristine condition, follow these simple tips:
- Avoid Sunlight: Keep pieces out of direct sunlight to prevent fading and weakening.
- Dust Regularly: Use a soft brush or cloth to clean the furniture gently.
- Handle Carefully: Be cautious when moving or adjusting delicate parts.
Conclusion
Repairing dollhouse furniture is a rewarding and creative process that allows you to preserve its charm and functionality. Whether you’re restoring a cherished heirloom or revitalizing a thrift store find, these DIY techniques will help you bring your miniatures back to life. With practice, patience, and a touch of creativity, you can transform damaged dollhouse furniture into timeless masterpieces that continue to captivate for years to come.


