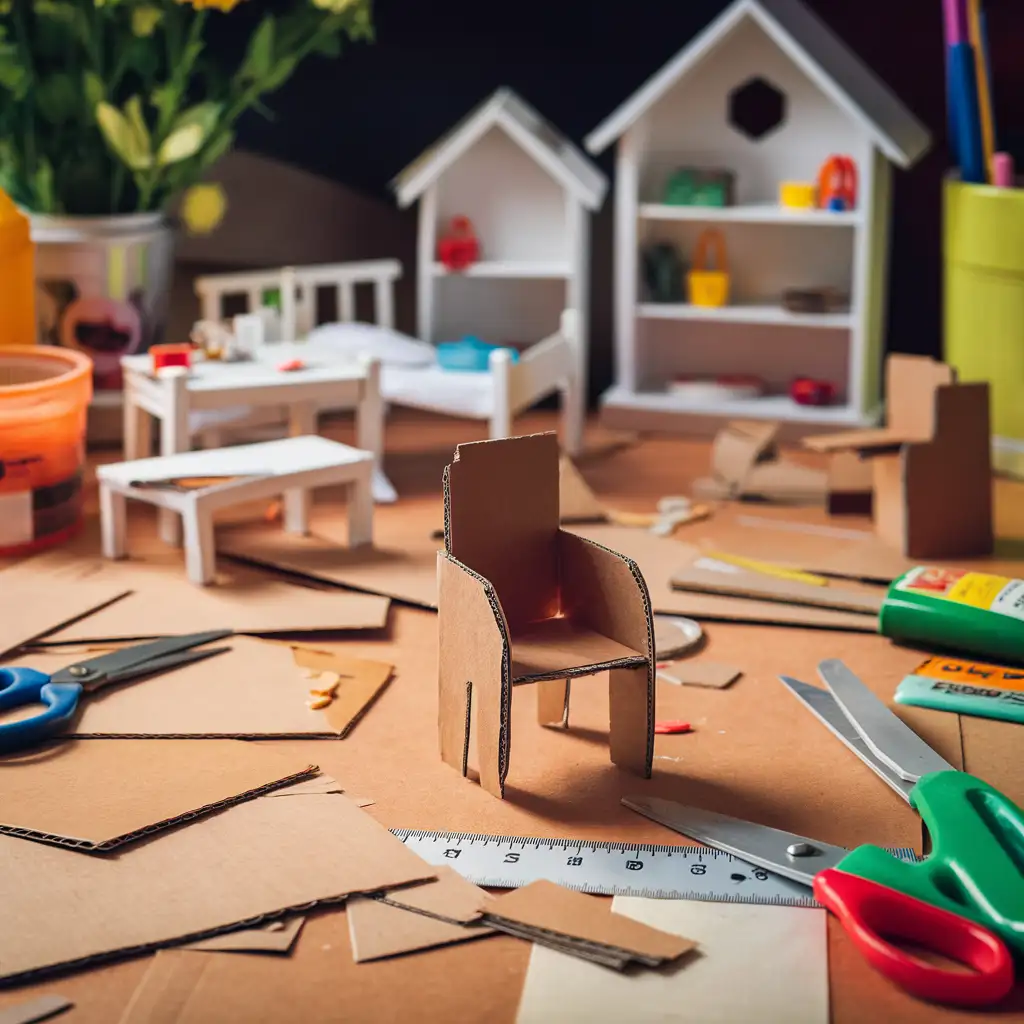
Decorating a dollhouse is an exciting journey, but finding the perfect dollhouse furniture can quickly become expensive or frustrating. The good news? You don’t need to buy tiny furniture sets when you can easily create your own! This beginner-friendly tutorial will guide you step-by-step on how to make dollhouse furniture from cardboard, helping you customize your miniature spaces beautifully and affordably.
Why Make Your Own Dollhouse Furniture?
Making dollhouse furniture isn’t just a cost-effective solution—it’s also a creative and rewarding experience. By using cardboard, you can craft everything from chairs and tables to beds, shelves, and even decorative cabinets. The best part? Cardboard is versatile, easy to work with, and readily available, making it the ideal material for beginners. Plus, you don’t need any fancy tools or advanced skills to get started.
Essential Materials and Tools for DIY Dollhouse Furniture
Before you begin, gather the following supplies:
- Cardboard: Opt for sturdy cardboard, like that from shipping boxes or cereal boxes, for durable furniture.
- Scissors or Craft Knife: For accurate and clean cuts.
- Ruler and Pencil: To measure and sketch your designs.
- Glue: Hot glue works best for strong bonds, but craft glue can also be used.
- Paint or Markers (optional): For adding color and personality to your furniture.
- Decorative Elements (optional): Fabric scraps, beads, or stickers can add a special touch to your creations.
Step-by-Step: How to Make a Cardboard Dollhouse Chair
Let’s start with a simple project: crafting a cardboard chair. This is a great beginner project that will help you get comfortable working with cardboard.
Step 1: Plan Your Design
Decide on the type of chair you want to create. A straight-backed dining chair or a small armchair is ideal for beginners. Sketch out the design on paper first, keeping in mind the scale of your dollhouse furniture.
Step 2: Measure and Cut
Using your ruler and pencil, draw the chair components onto the cardboard. You’ll need:
- Seat: A rectangle, approximately 2×2 inches (adjust based on your dollhouse scale).
- Backrest: A slightly larger rectangle for the back of the chair, about 2×3 inches.
- Legs: Four small, identical rectangles to serve as the chair’s legs.
- Armrests (optional): Two thin strips to extend from the seat.
Carefully cut out these pieces using scissors or a craft knife. For safety and precision, place a protective surface under your cardboard while cutting.
Step 3: Assemble the Chair
- Attach the Backrest: Apply glue along one edge of the seat and press the backrest into place. Hold it steady until the glue sets.
- Add the Legs: Glue each leg to the underside of the seat at the corners. Ensure they are evenly spaced for stability.
- Attach the Armrests (Optional): If your design includes armrests, glue them to the sides of the backrest and seat.
Let the glue dry completely before moving on to the next step.
Step 4: Decorate Your Chair
Now for the fun part—decorating! Use paint or markers to add vibrant colors or patterns. For a more realistic touch, glue on fabric scraps for upholstery or use beads as decorative buttons. Metallic paints can also give your chair a sleek, modern look.
Pro Tips for Crafting Dollhouse Furniture
- Stick to Scale: Ensure all your furniture pieces match the scale of your dollhouse for a cohesive look.
- Use Templates: If you’re not confident in freehand drawing, search online for printable templates of dollhouse furniture.
- Reinforce for Durability: Double-layer cardboard for larger pieces like tabletops or backrests to make them sturdier.
- Smooth Edges: Sand down rough edges for a polished, professional finish.
- Be Patient: Allow glue and paint to dry fully before handling your furniture to avoid smudges or instability.
Expanding Your Dollhouse Furniture Collection
Once you’ve mastered the chair, challenge yourself with other pieces. Here are a few ideas to inspire your next project:
- Tables: Create a square or round table with matching chairs.
- Beds: Craft a bed frame with a mattress made from fabric scraps and cotton stuffing.
- Shelves: Design small shelving units to display miniature books or decorations.
- Couches: Pair your chair with a matching sofa for a cozy living room set.
Cardboard is a fantastic material for experimenting with different furniture styles, whether you prefer modern designs or vintage aesthetics.
Optimizing Dollhouse Furniture Tutorials for Beginners
To enhance your skills, look for additional resources like printable patterns or step-by-step video tutorials. Searching for terms like “DIY cardboard dollhouse furniture” or “how to make dollhouse furniture step by step” will lead you to a wealth of ideas and inspiration. Long-tail keywords such as “beginner dollhouse furniture tutorial” or “easy cardboard dollhouse bed frame” can help you find specific guides tailored to your needs.
Why Dollhouse Furniture Crafting is So Rewarding
Crafting dollhouse furniture is more than just a DIY project—it’s a chance to create a miniature world that reflects your personality and creativity. Whether you’re making furniture for your own dollhouse, as a gift, or simply as a relaxing hobby, the process is both enjoyable and fulfilling.
If you’ve completed your own dollhouse furniture using this guide, share your creations on social media with hashtags like #DIYDollhouseFurniture. Your work can inspire others to start their own crafting journey!
With just cardboard, glue, and a little imagination, you can bring your dollhouse to life with custom furniture pieces. So, what will you create next? Dive into the world of dollhouse design today and let your miniature interiors shine!


